
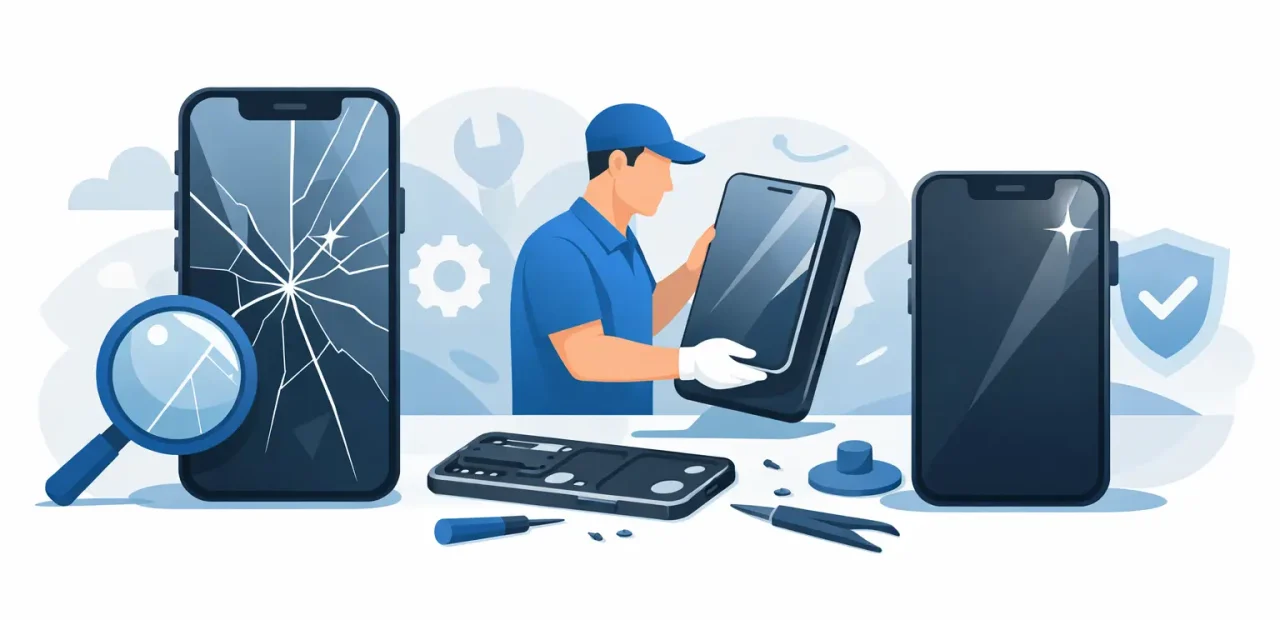
A cracked iPhone screen can turn a normal day into a frustrating one fast. Replying to class messages, using maps, checking work email, or making a call becomes harder when the glass is sharp, the display is flickering, or touch controls stop responding. This iPhone screen repair process guide explains what a professional repair should look like, how long it may take, and what to expect before you hand over your phone.
The goal is not just to replace broken glass. A quality repair restores a clear display, responsive touch controls, and the confidence to use your iPhone normally again without guessing whether the next tap will work.
Start With a Quick Screen Inspection
Not every damaged screen needs the same repair. A technician should begin by checking the condition of the front glass, display panel, and touch layer. A small crack that does not affect the picture may look simple, but deeper impact damage can cause black spots, colored lines, flashing, dead pixels, or areas that no longer respond to touch.
The inspection also checks for issues that can be mistaken for screen damage. If your iPhone will not turn on, has no image but still makes sounds, or the touch screen is unresponsive in only one area, the repair approach can be different. A clear diagnosis protects you from paying for a repair that does not address the real problem.
A reputable shop should explain what it finds in plain language before work begins. You should know whether you need a full screen assembly replacement, what the price is, and whether there are any concerns outside the screen itself.
Back Up Your iPhone if You Can
Screen repairs normally do not require erasing your phone. Still, backing up your iPhone before any service is a smart precaution when the device is still usable. Use iCloud or a computer to save current photos, messages, contacts, and app data.
If the screen is too damaged to operate, do not stress. A repair technician may be able to restore the display first so you can access your information again. You should also avoid repeatedly pressing hard on cracked glass or trying to force a damaged screen to respond. That can make the damage worse and can leave sharp fragments exposed.
Before you arrive, remove your case and screen protector if possible. Have your passcode available, too. A passcode may be needed after the repair for testing, but a professional technician should only request access when it is necessary to confirm that your screen and key features work properly.
The iPhone Screen Repair Process, Step by Step
Once the repair is approved, the technician powers down the phone and opens it with tools designed for iPhone service. Modern iPhones are compact, and their screens connect to delicate internal cables. This is why a rushed do-it-yourself attempt can turn a cracked display into a more expensive repair.
Removing the damaged screen
The damaged screen is carefully separated from the phone housing. The technician disconnects the display assembly and inspects the frame for bends, loose debris, or damage that could prevent the new screen from sitting correctly. If the frame is badly bent, a replacement display may not seal or align as it should.
Transferring key components
Depending on the iPhone model, small components attached to the original screen may need to be moved to the replacement screen. These can include the front sensor assembly, earpiece speaker, and other parts that support normal phone functions.
This step requires care. The parts are small, and the cables are easy to damage without the right tools and experience. On certain models, preserving original components is especially important for maintaining features such as Face ID. A skilled technician handles these components carefully rather than treating a screen replacement as a simple glass swap.
Installing a quality replacement screen
The replacement screen is connected and positioned correctly before the phone is fully closed. High-quality parts matter because the screen affects nearly every interaction with your iPhone. A low-grade display can have weak brightness, dull color, poor touch response, or an uncomfortable fit around the edges.
There are trade-offs with screen options, especially across different iPhone models. Original-equivalent quality parts can offer a better viewing and touch experience, while lower-cost options may be suitable for someone focused on the lowest immediate price. The right choice depends on your model, budget, and how heavily you use your phone. The important part is getting a straightforward explanation before the repair, not a surprise after it.
Testing before you leave
A screen repair is not complete when the new display turns on. The technician should test brightness, color, touch response across the full screen, front camera operation, earpiece audio, proximity sensor behavior, and button function. They should also check that the screen sits flush and that the phone charges normally.
You should take a minute to test it yourself before leaving. Type a short message, swipe around the display, open the camera, and make sure the screen feels normal in your hand. A good repair shop wants you to leave satisfied, not discover a concern after you get home.
How Long Does an iPhone Screen Repair Take?
Many common iPhone screen repairs can be completed while you wait, often in as little as 15 minutes when the correct part is in stock and the phone has no additional damage. That speed is useful when you need your phone for work, school, rides, payment apps, or family communication.
Still, timing depends on the specific iPhone and its condition. A newer model, a severely damaged display, or a phone with a bent frame can take longer. If a shop promises the same time for every model and every condition without inspecting the device, be cautious. Fast service should not mean skipped testing or careless installation.
For customers near TCU and across Fort Worth, a walk-in repair option can save a day of waiting for mail-in service or a replacement device. Fort Worth iPhone Repairs focuses on clear pricing, customer-visible service, and fast screen repairs whenever the repair is appropriate for same-day completion.
What About Face ID, True Tone, and Display Messages?
These are common concerns, and the honest answer depends on your iPhone model and the replacement part used. Face ID is connected to specialized components in the original phone. It should be treated carefully during a screen repair because damage to those parts can affect this feature.
True Tone availability and display-related notifications can also vary by model and repair configuration. A trustworthy technician should explain this before beginning service, particularly if your iPhone is a newer model. Ask directly if you rely on a specific feature. You deserve a clear answer, not vague promises.
This is one reason the cheapest quote is not always the best value. The cost difference between repairs can reflect part quality, technician experience, testing standards, warranty support, and whether the shop takes time to protect the functions you use every day.
When a Screen Repair Is the Right Choice
Repairing your screen is usually a practical choice when the iPhone still meets your needs and the issue is limited to the display. It can cost far less than replacing the phone, and it lets you keep your apps, photos, settings, and familiar device.
Replacement may make more sense if the phone has multiple major issues, is very old, or the repair cost is close to the value of upgrading. A good local repair shop should help you understand that difference without pushing you toward work you do not need.
After your repair, add a quality screen protector and a case with raised edges. They cannot prevent every crack, but they can reduce the odds that one drop turns into another urgent repair.
A broken screen should not keep you disconnected for days. Bring your iPhone to a technician who will inspect it honestly, explain the options clearly, and test the repair before you walk out with a phone that feels usable again.